Showing posts with label handmade. Show all posts

3 June 2021

A Foraging Life


Greetings friends!

I return to regale you with some of my foraging experiences.

Recently I’ve been reading a fascinating book from the library called ‘The Foraged Home’.


Where people regularly forage the natural world for items to decorate their homes.


Even down to foraging for seaweed and making beautiful artworks. (Seems like a cold job!)


It’s made me realise how much this is a natural style for me. Others might laugh at my lack of knowledge of myself. As a I look back on all my experimenting with dye and my collecting of leaves and feathers.

Here are some photos of my experiments and my collecting.

In our current house we have a wall behind the kitchen which I’ve decorated with random leaves and feathers collected on walks.


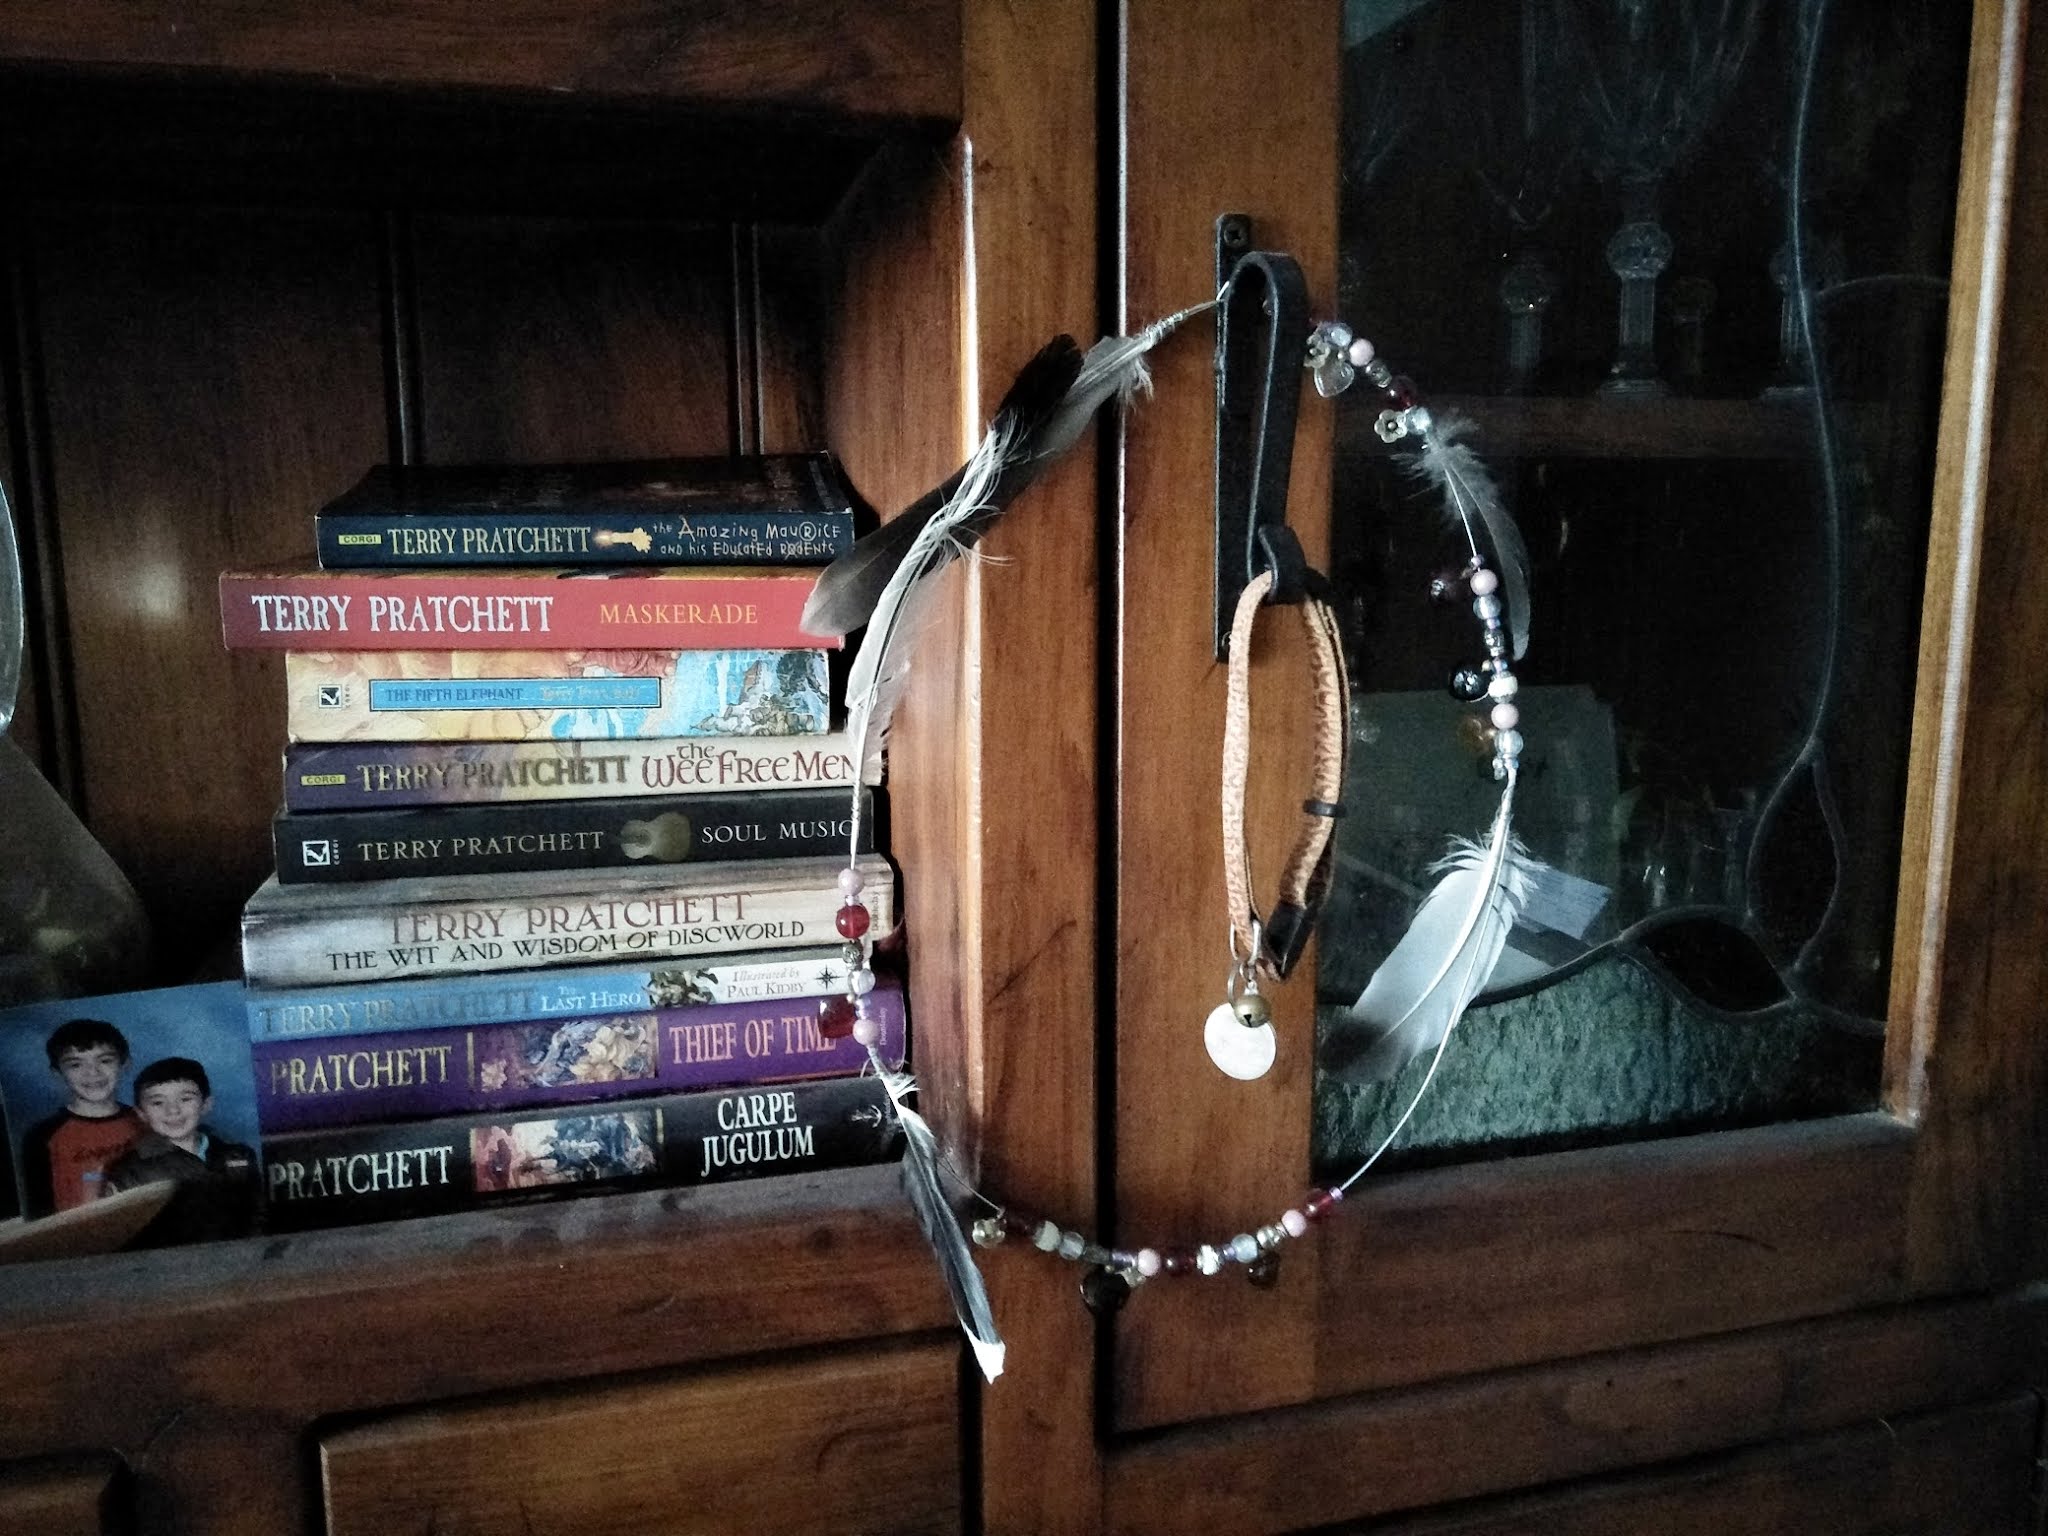
I made a little hanging artwork out of feathers which was going to be the first of many and I was going to place them in the trees in the park during Winter to delight passers by. I only ever made one and I liked it too much to let it go. So it now hangs on my buffet door.


On another buffet door hangs my Christmas wreath made from feathers, wire and beads.
Keeping company with our old cat’s collar. We hear the bell jingle as we open the door to remind us of him. Aww!
 We miss you Smart-Blue.


At the front door I have showcased a bamboo frond I cut off our plant.


And here are some links to previous blog posts where I display my eco dyeing and some of the ways I used it.

 http://naturalmedley.blogspot.com/2016/01/natural-dyeing.html


http://naturalmedley.blogspot.com/2016/04/ecodyeing-uses.html


Okay that’s all for now.

Isn’t the natural world wonderful?

Do you forage too?


Til next time, 

Keep on creating!


Lots of love,

Jazzy Jack


6 February 2017

Tablecloth Coat Tutorial and some other clothes

Greetings lovely people!

A little while ago I posted this photo and asked if people would like to know how I made the coat.
A few people said yes, so here it is!


My beautifully professional drawings describe the process.
Firstly, take one linen tablecloth from the thrift store. Find some napkins that have lovely embroidered hemming. Dye them to match with this and that.
Then fold the tablecloth with two sides to the centre, and cut some armholes, like so.


Sew two napkins into sleeve shapes, making sure to highlight the beautiful hemming.
Then stitch the top of the tablecloth partway along the shoulders. Attach the sleeves at the previously cut holes.

Fold over the collar and voila, a coat!
Most of the hemming has been done for you. Very quick and easy.
I hope you like it!

I've been into my stash of linen tablecloths lately, and came up with this one yesterday.
Based on a pattern by Tina Givens called "Drennon" which is a free pattern on her website.


I adjusted the pattern by sewing up the sides so it becomes a dress instead of a tunic.
In the heat it is the coolest thing I own...it barely touches me! It has a waist panel and crossover side pieces. It showcases the beautiful fabric so well.


I wore it today with this silk wrap I picked up secondhand the other day for $8!
I can't decide which side is best...this, or this!
I have a feeling the dark side suits me best, which is the underside.


I have another orange outfit to show you from my rather large orange stash, that just keeps growing!


 This dress is lovely and cool, and really suits me I think, but it is polyester, and will cling to my legs. Grrr!


Another orange lover in the family! All the best people.
I happened to have this lovely silk jacket in the cupboard which works well with this.
The necklace is a carving from PNG along with a chain of coconut shell beads. Bought separately but made for each other. I can't believe it's taken me this long to put them together!


My earrings were bought in Arizona. Handmade of semiprecious stones (although precious to me...what sort of word is semiprecious - damned with faint praise!)
Anyway! There is a fine black line carefully inserted between the two colours. Beautiful handwork.


Please forgive me, I am having difficulty blogging at the moment for whatever reason. This will have to be a place holder until I get my act together.
I am busy sewing and knitting and researching my interests, including unschooling and giftedness.
Just busy living at the moment.
Much love to you all.
Til next time,
keep on creating!

Jazzy Jack

 Bye!

Linking with Modish Matrons - although I am not Modish I am a Matron
(going as is despite the Folk Theme)


26 January 2017

Eye am colourful


Greetings my friends!
I had a few shots of my colour adventures left, so thought I'd share them with the world...as you do.
Above I am in pants made from old sheets dyed with eco dye colours. These are the very comfortablist pants I own. Come on...old sheets!

And now I present to you...da, da, da...my eye!
I took this closeup as best I could without studio conditions to see the colours therein.
I've been reading David Zyla's book about his colour system. All the colours that suit us best are located in our bodies. I really like the idea. Some find it hard to isolate their colours, but I didn't have too much trouble.


Here are my colours represented by the clothes in my wardrobe...colours as close as I could get them.
The peachy colour is my version of white (skin tones), the pink my version of red (blush tones), teal is my dramatic colour (vein colour), burnt orange is my energy colour (darkest colour in eye) , olive green my tranquil colour (lightest colour in eye), dark bluey grey my version of black (ring around iris), dark chocolate my version of brown (darkest colour in hair), and golden brown my version of khaki (lightest colour in hair - not sure if you count grey).


 You should have seen me squinting in the hand mirror in the sun with my faulty eyesight, trying to identify that elusive hair colour! It must have been hilarious!
He also talks about identifying your style. I have become enamoured of the Sensual Backpacker category or Spicy Autumn. It speaks of wearing simple practical stylish shapes in interesting textures referencing the sensuous traveller. Sounds like me right?!


When I dyed these pants I must have spilt juice on them because there was a large dark splat right in the front, so I covered it with an embroidered patch. All adds to the character.
I can't believe I nearly left this shirt in the op shop. It has become a staple this Summer. Great for a little coverup or if I need to look a little more decent than the singlets I hang out in at home...hey, it's hot!
I also love this necklace which combines my first gift from Bushy...a chain, with a polished rock made by my maternal grandfather Poppi.

I leave you with our latest video featuring Aiden on flying fox, and Miles flying solo in the boat...oh and my singing. Bear with the uneven sound quality, we are working on improving it. Slowly learning :-)


Til next time,
keep on creating!

Love JJ and the Bracks

30 July 2016

War, water and wheelchair

Hello fellow travellers.
This week we head to the woodworking room to watch Miles making his WW 2 replica wooden guns.


We also have some fascinating moments watching the interactions between water, plastic bottles, tissues and food colouring.

And finally, we view a burnt out car from a wheelchair!


All accompanied by Aiden's eerie guitar music - composed and performed by him and sound bending by me.
Sound exciting?

By the way, look at the gorgeous shapes made by plastic bottles left overnight in an aquarium!


We'd love your company on our Unschooling Adventures.
Click on the picture below to enter the rabbit hole...


Til next time,
Keep on creating!


Love
Jazzy Jack and The Bracks

18 May 2016

DIY jacket from pashmina (Tutorial)

Gasp! It's an outfit post!

I said I would show you my latest creation.

An old warm but not used pashmina which I wanted to make more useful. I struggle to wear wraps sometimes as they fall off my shoulders when doing housework. So decided to make it into a jacket.

Here are some very crude drawings to illustrate the process.


Fold the pashmina in half widthways. Cut off the amount you would like for sleeves (measure around your upper arm)

Of the remaining fabric, fold the sides to the middle and cut the folded sides.

Cut a shallow curve for the neck (measure off an old tshirt)

Stitch fronts to back at shoulders


Stitch sleeves on at shoulders seams. Fold sleeves in half to mark centre.
Stitch underarm and side seam in one. Don't forget to clip curve so seam will lie flat.
Zig zag the edge or do a fancy buttonhole stitch or a narrow hem or bias binding etc. I was lazy!
A closeup of my result.

In case you're wondering, I got bored with the black one day and needle felted a design.

I love how the fringing looks.

A closeup of the brooch for Kezzie. Go and see her brooch collection. Amazing!

Hood from the underneath top.

Wet look black leggings and black shirt from Black Milk.

Secondhand black wool tunic.

Old brooch bought for University Graduation.

(Unseen) Black cashmere jumper secondhand and felted black vest recycled from husband's moth eaten jumper.

(Don't laugh...I feel the cold!)

Hope you enjoyed this little walk through.

It is certainly a pleasure to wear now.

Do you think you will have a go?

Until next time, keep on creating!

Love,

Jazzy Jack


7 May 2016

My studio

Here is a sneak peek of my fledgling studio(not completely organised yet).

I am sharing with my kids' toy room. They are playing online more often now and also making things in the shed and outside.

Around the corner to the left is a bathroom with a quick access to water.


Looking to the left behind the door with a lovely seat in the sun

(covered by my Grandma's quilt) for hand sewing times

or hide away from the kids around the corner times.


To the right with sliding door access to the deck and courtyard.


Looking back into the house towards Mr Actor on the computer,

the family room and the kitchen.

How amazing to be able to leave the machine and projects up without feeling guilty. Up until now I took over the dining table. (Maybe we can eat at the dining table again soon.)

Stay tuned for a post about the sewing on the studio table.

I say again...studios rock!!


Do you have a dedicated creating space?

Or do you have to fit it into the cracks of your life?


Until next time,

keep on creating!


Love,

Jazzy Jack